Docker + Minecraft = ❤️
This week I am taking some time off from work to recharge my batteries! This is the perfect time to review how to quickly and easily setup a docker container running a Minecraft server to centrally host all of the building and adventure needs of you, your family and your friends!

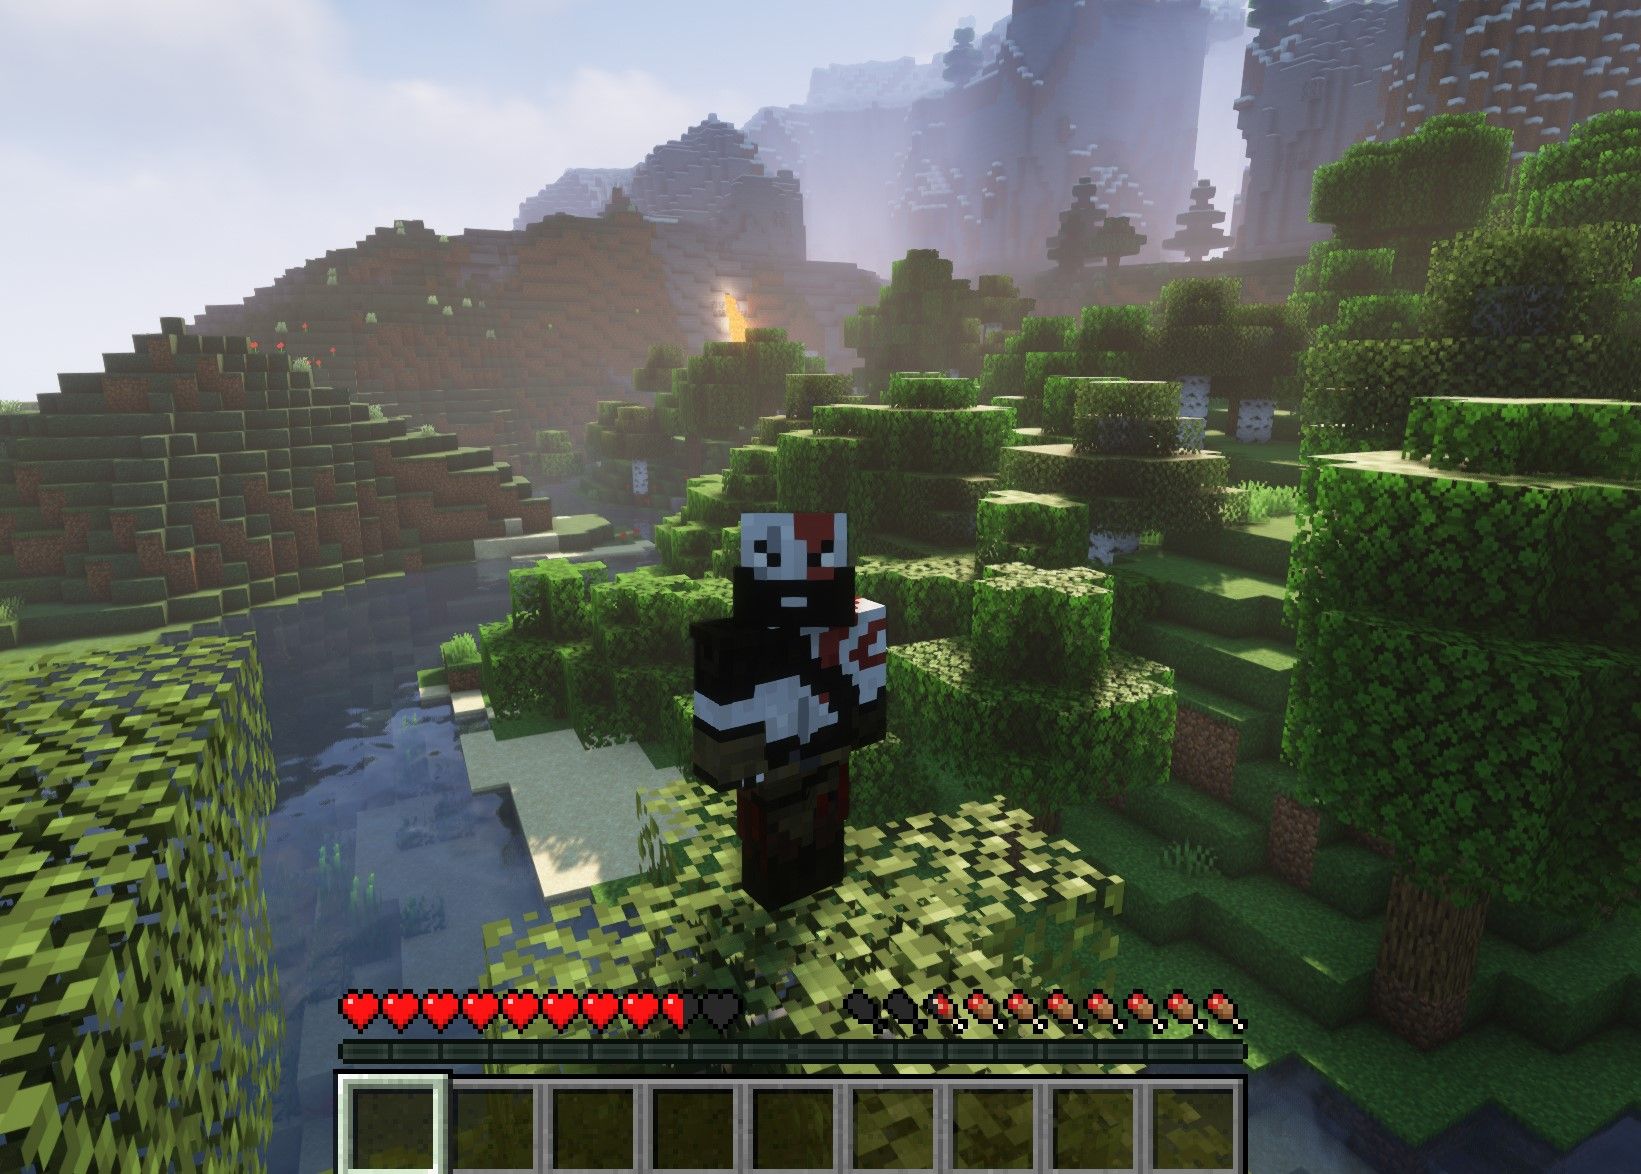
My family and I love Minecraft, and since I have a little bit of time off from work, I decided to put together a small server for my kids to create their own Minecraft worlds!
Please note that we will be using the Minecraft Java Edition docker image for this effort. If you are setting up a world that can be used with console, mobile, Windows-store based Minecraft editions, then please note the different docker image for the bedrock edition.
Requirements
Before we start, here are the basic requirements:
- Linux/Windows desktop with a decent CPU (ARM/x86 should be fine) and at least 2GB of RAM. I run a small Ubuntu server 20.04, but any current distro should suffice.
- Server should have docker installed (
sudo apt install docker) should work for distros using the aptitude package manager (ubuntu is one of them)
Assumptions
We are also assuming the following conditions are true:
- Server has outbound access to the public internet, specifically Docker Hub (https://hub.docker.com/)
- You can access the server via bash/powershell (ssh or locally)
- Server has at least 2-3GB of HDD available (docker image, container and Minecraft world data)
Let's do this!
There are really two steps required for this, download the image from Docker Hub and then Run it. We are going to review three steps - download image, run without any customization/options set, and finally run as expected.
Step 1 - download the Minecraft image from Docker Hub
We will be using the image named itzg/minecraft-server for our Minecraft Java Edition. If you are planning to host a server for console/mobile/Windows-store based Minecraft, please just use the image named itzg-minecraft-bedrock-server. All of the commands/options should be the same for both images.
docker pull itzg/minecraft-server
Using default tag: latest
latest: Pulling from itzg/minecraft-server
16fc32e2132b: Pull complete
3f63509f5b97: Pull complete
840a4b5e2030: Pull complete
dc9350d60267: Pull complete
d79e2a92947f: Pull complete
654ccf4f2689: Pull complete
96b39f4g3f87: Pull complete
6ec4cdgh7988: Pull complete
1e0653b7d6h7: Pull complete
9d3f34776223: Pull complete
0d6cd45a464c: Pull complete
124f673411ff: Pull complete
d312152f6c9e: Pull complete
87c167334deb: Pull complete
42755f4f6s89: Pull complete
eb700a421360: Pull complete
e5asd3212fd6: Pull complete
307234sf4b1d: Pull complete
d0a2b234ss2c: Pull complete
ced3def6c7db: Pull complete
0a4123c5e89c: Pull complete
7555a49ccd3a: Pull complete
Digest: sha256:de323344391d3cd4012b3a30e0bfa4a6eb0124568754d14f222333d11ecde80c5c6d
Status: Downloaded newer image for itzg/minecraft-server:latest
docker.io/itzg/minecraft-server:latest
if the image downloaded successfully, you should see something like this, when you run the image listing command:
docker image ls -a
REPOSITORY              TAG       IMAGE ID       CREATED       SIZE
itzg/minecraft-server   latest    4a4625695381   8 days ago    648MB
Step 2 - Run the container, without any customizations
First, let's understand a few of the basic options we will be using with docker in order to get the container to run as expected:
- run = runs the container
- -d = run detached (runs as a task in the background, allowing the user to continue using the terminal)
- -p 25565:25565 = port mapping - maps external container port to internal container port
- -e EULA=TRUE = -e is used to pass in an environment variable to the container, in this case setting the EULA to accepted.
- --name hello_world - assign a name to the container, in this case 'hello_world'
- last option on the command = reserved for the name of the image to use
You can absolutely run the container at this point, without any additional mappings, such as the data folder mentioned above. Here is the command that would do just that:
docker run -d -p 25565:25565 -e EULA=TRUE --name hello_world itzg/minecraft-server

7685fb014790f98e08a971a78f9ecf19619722e45a03e53366d5c3303ee56cd3
Once that starts, you can simply open Minecraft click on Multiplayer, Add a Server and connect to it (replace localhost with the local IP for anyone playing in your local network):


While the approach above does get you off the ground and running, it has a few drawbacks, such as:
- The data lives inside of the container. This means that if we were to ever remove the container, we would actually lose our world data - no bueno!
- If the computer is restarted, the container will not automatically restart.
- Lastly, we need to set some memory thresholds to prevent the container from running poorly but also prevent it from overcommitting our precious RAM (looking at you Chrome!)
Step 3 - Run the container with more finely tuned options
In order to address the three challenges above, let's add three new options:
- -v = maps a local volume to the container's main data folder.
- --restart unless-stopped = restart the container, unless we purposely stopped it via
docker stop [container_name] - -e INIT_MEMORY=1G = sets the minimum memory to allocate to the container
- -e MAX_MEMORY=2G = sets the maximum memory that the container can use
The below command will use the options we identified above in order to customize our container to perform as expected:
docker run \
  -d
  --name minecraft_world \
  -p 25565:25565 \
  -v /data/docker_minecraft_world/data:/data \
  -e EULA=TRUE \
  -e INIT_MEMORY=1G \
  -e MAX_MEMORY=2G \
  --restart unless-stopped \
  itzg/minecraft-server:latest

7685fb014790f98e08a971a78f9ecf19619722e45a03e53366d5c3303ee56cd3
Once that container is running, you will notice quite a few new files in that local folder that you mapped, see below:
ls -Gahxo /data/docker_minecraft_world/data
drwxrwxr-x  4 pedro 4.0K Jul  6 22:10 .
drwxrwxr-x  3 pedro 4.0K Aug  9 15:55 ..
-rwxr-xr-x  1 pedro    2 Aug  9 15:55 banned-ips.json
-rwxr-xr-x  1 pedro    2 Aug  9 15:55 banned-players.json
-rw-rw-r--  1 pedro   65 Feb  9 01:31 eula.txt
-rw-r--r--  1 pedro 1.4K Feb  9 01:31 log4j2.xml
drwxrwxr-x  2 pedro 4.0K Aug  9 15:55 logs
-rw-rw-r--  1 pedro  42M Jul  6 22:10 minecraft_server.1.17.1.jar
-rwxr-xr-x  1 pedro  680 Aug  9 15:55 ops.json
-rwxr-xr-x  1 pedro 1.2K Aug  9 15:55 server.properties
-rw-rw-r--  1 pedro  539 Aug  9 17:41 usercache.json
-rwxr-xr-x  1 pedro    2 Feb  9 01:21 whitelist.json
drwxrwxr-x 12 pedro 4.0K Aug 10 01:26 world
And you can even edit the server.properties file to customize the server and your world. Available settings include the world name, game mode, message of the day, max players, and SO MUCH MORE...
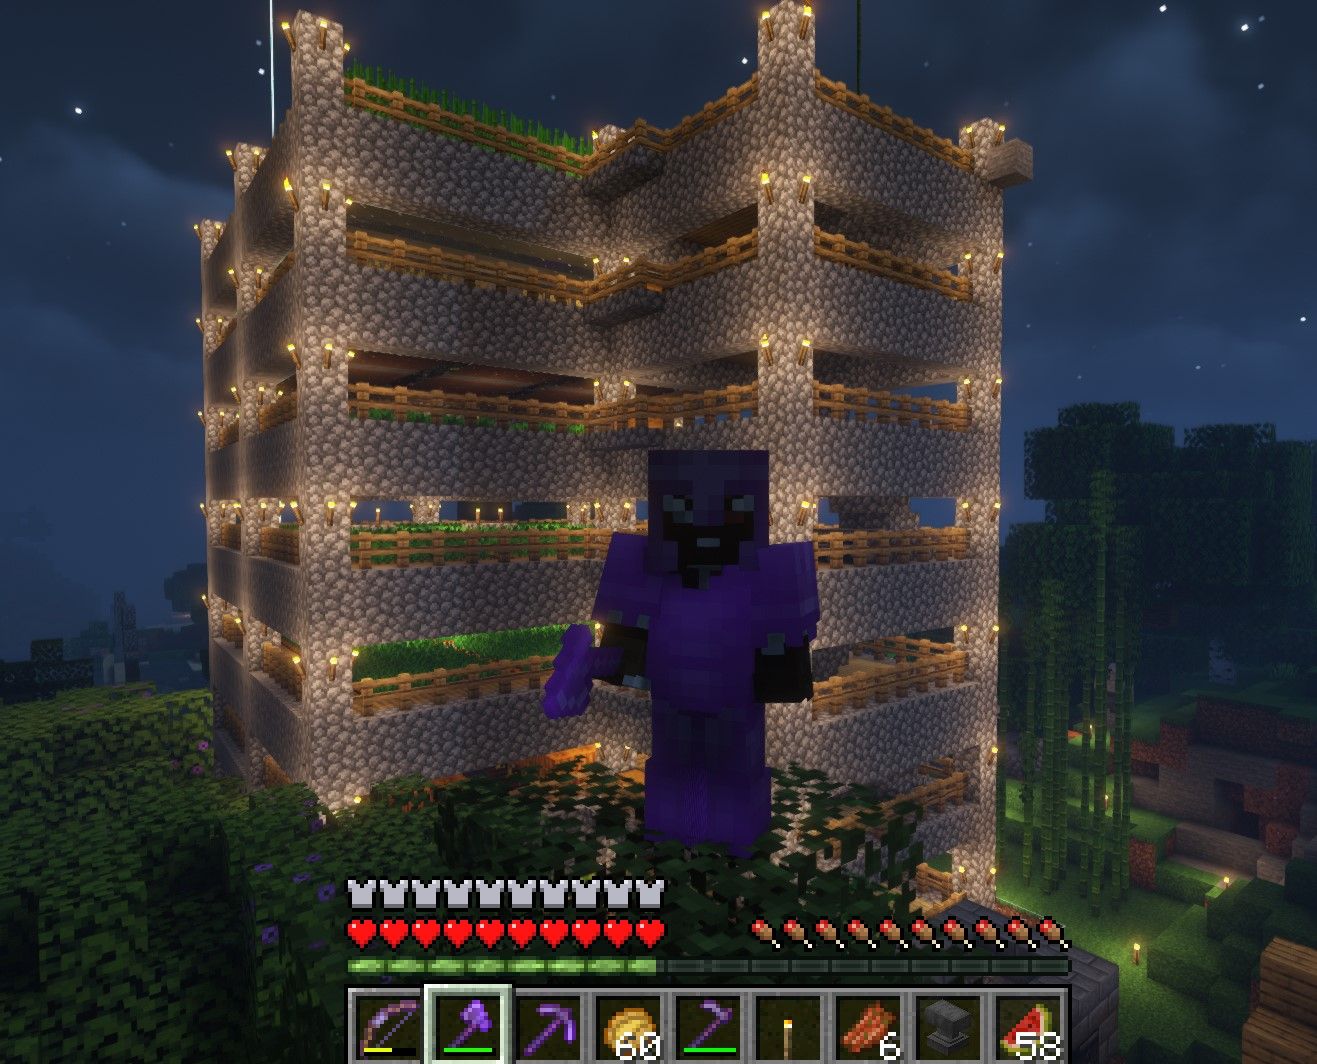
Here is what the new server looks like (notice the updated message of the day!) :

That was it! A simple, fun, relaxing way to play Minecraft with family and friends in a virtual world that is under your control. Don't forget to back it up often!
Enjoy, Have Fun and Craft Away!
Minecraft is so much fun! I can spend hours building and going on adventures with my family and friends!
How about you? Did you enjoy setting up your own docker container for Minecraft?
Thoughts? Comments? tweet @uberdronis.
cheers!
the entire script for this post is within the post itself. All other scripts from my blog posts can be can be found in the moshpit repo within my github account.
Featured image created by myself, during the first login to the docker container!